|
Quick Exercise in Painting and Hard Light Mode
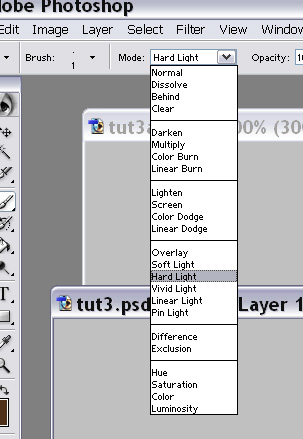
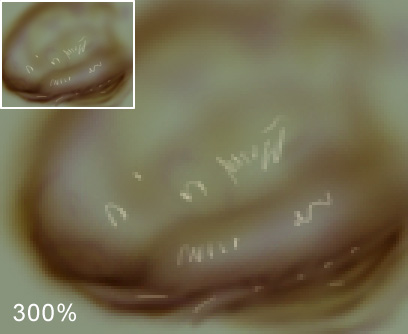
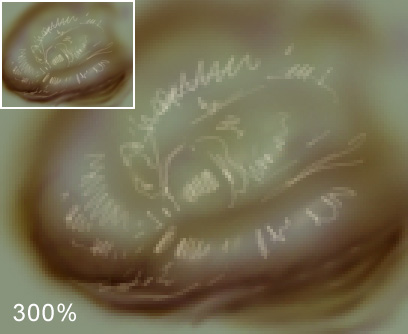
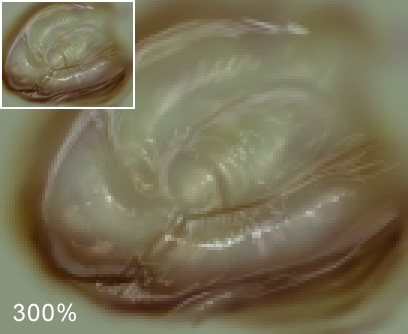
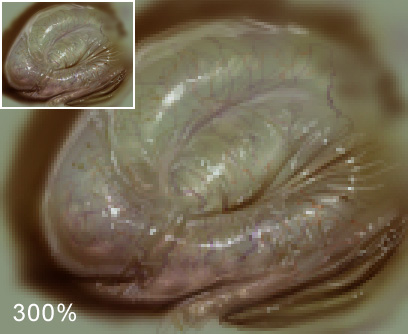
People ask me a lot about how I work, and one of the things that I use thats a bit uncommon is a heavy amount of painting with brushes in hardlight mode. To set your brush to be hardlight in photoshop, just have one of the brush tools active and drop down the blending modes menu and select it.
Hard light works in a way thats hard to describe and its really something you have to play with to get the hang of. Darker colors will multiply on top of your original color, all the way to black, where light colors will add to each other all the way to white. Mid-value colors tend to saturate the existing color with the hue of the color your painting with. The bottom examples show some of what I am talking about, and I'd also recommend playing around with it to really see what I mean.
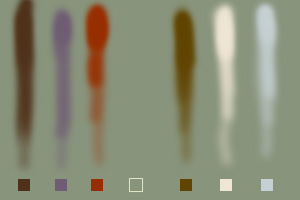
color selection painted on a green background in normal mode ^
same background, the colors are painted in hard light mode ^
you can see that the darker colors ( 1, 2, 5) go all the way to black, and the lighter colors (6, 7) go to white if painted on top of itself enough. 1 was the least saturated and darkest so it shaded to black the quickest. 5 was slightly lighter but was more saturated, and its reflectd in how it goes down in hardlight mode. You can see 6 and 7 the 2 lightest colors layered up to white easily. colors that where more middle of the road (3, 4) as far as being dark or light and have some saturation tend to just add their own color and saturation to the existing one, which is visible in 3 to a severe degree, and in 4 more subtly. Explaining how it works is kind of tough so its best to try it out for yourself. using only these colors-
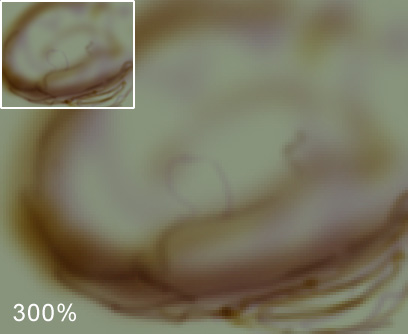
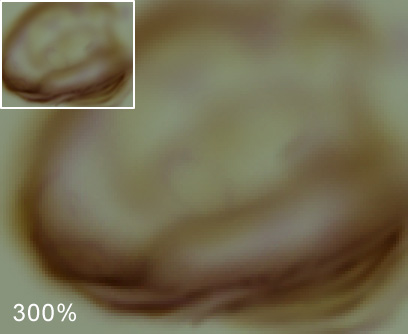
There you have it, Total time spent painting was under 15 minutes. |